Review LaP 2020

4th Conference on Laser Polishing – LaP 2020

December 2020

Virtual premiere in the imperial city

Around 70 experts logged in for the final touches in September 2020: Participants from the USA, Canada, China, Europe and other parts of the world attended the “4th Conference on Laser Polishing – LaP 2020,” which took place virtually for the first time. The event, organized by the Fraunhofer Institute for Laser Technology ILT in Aachen, focused on laser-based deburring and polishing – an exciting journey to, among other things, wobbling lasers, high-speed monitoring with AI support and nine-axis simultaneous processing.

In 2014, Fraunhofer ILT launched the first “Conference on Laser Polishing – LaP” to exchange research results in an international setting. Under Dr. Edgar Willenborg, head of Fraunhofer ILT’s research team for laser-based polishing and deburring, the conference has since developed into a well-attended English-speaking location for laser polishing experts from all over the world to meet.

The presentations at the first online conference were started by Dr. Dr. André Temmler, research assistant in the Department of Mechanical Engineering at Tsinghua University, Beijing. The former Fraunhofer ILT project manager showed high-speed images of laser remelting in brilliant quality and demonstrated a new hybrid laser process for melt structuring. In this process, a CW laser (focus: 560 μm) generates a melt pool and a second pulsed laser (focus: 17 μm) vaporizes and deforms the melt pool surface through vapor pressure. Temmler’s reports on experiments with the standard process were also exciting: His focus was on the laser polishing of tool steel H11. Under laboratory conditions, a roughness of Ra 0.05 μm is, thus, possible. The key to this is the right choice of both process parameters and protective gas.

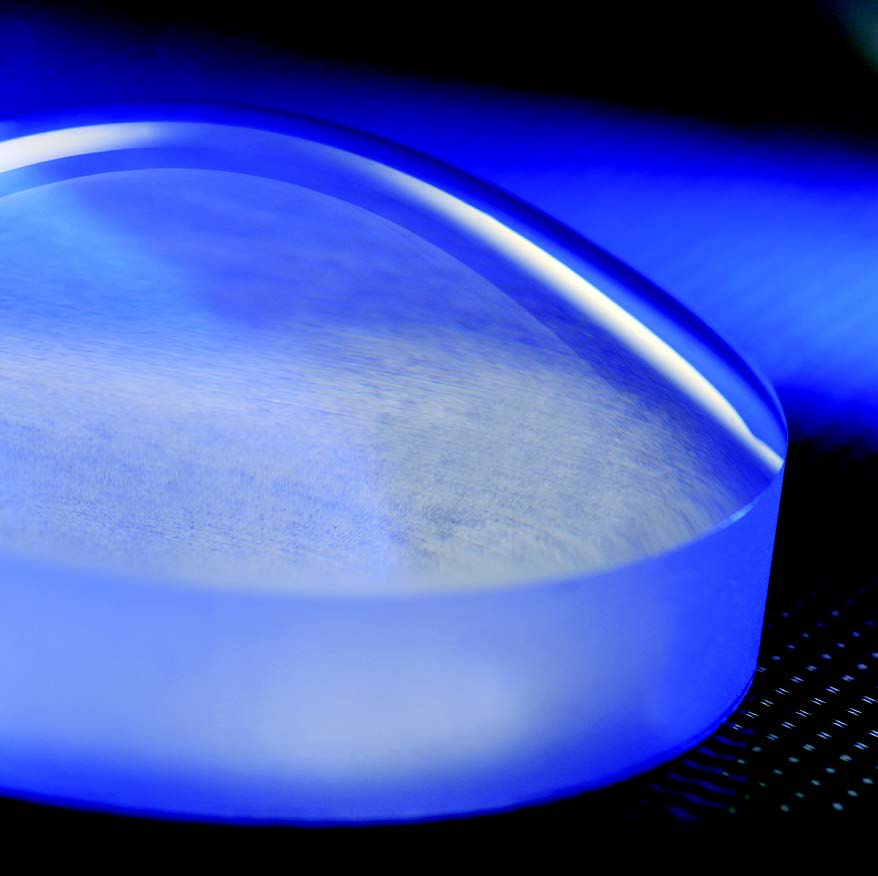
Laser polished sphere made of BK7.
© Fraunhofer ILT, Aachen, Germany.
Laser polished sphere made of BK7.
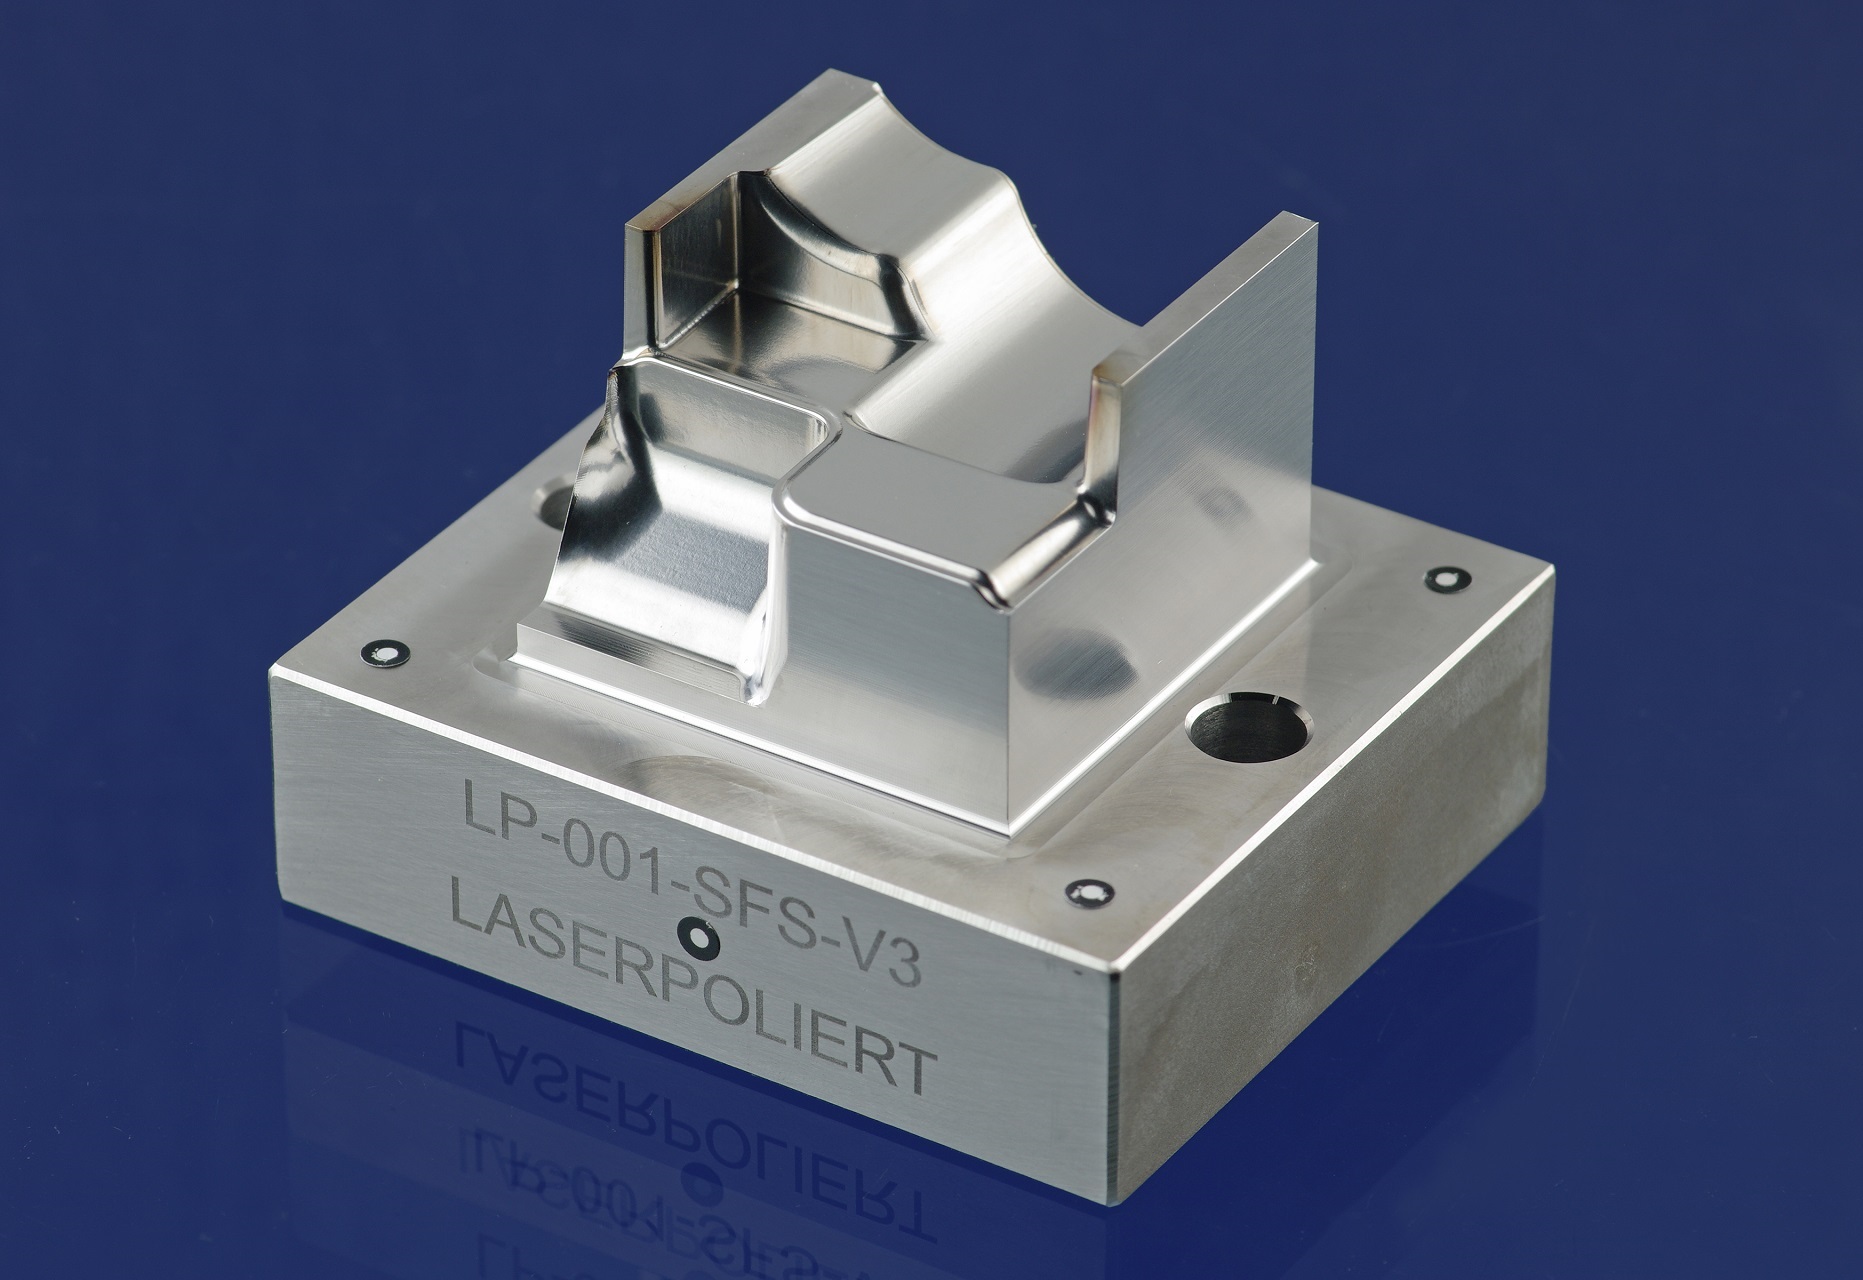
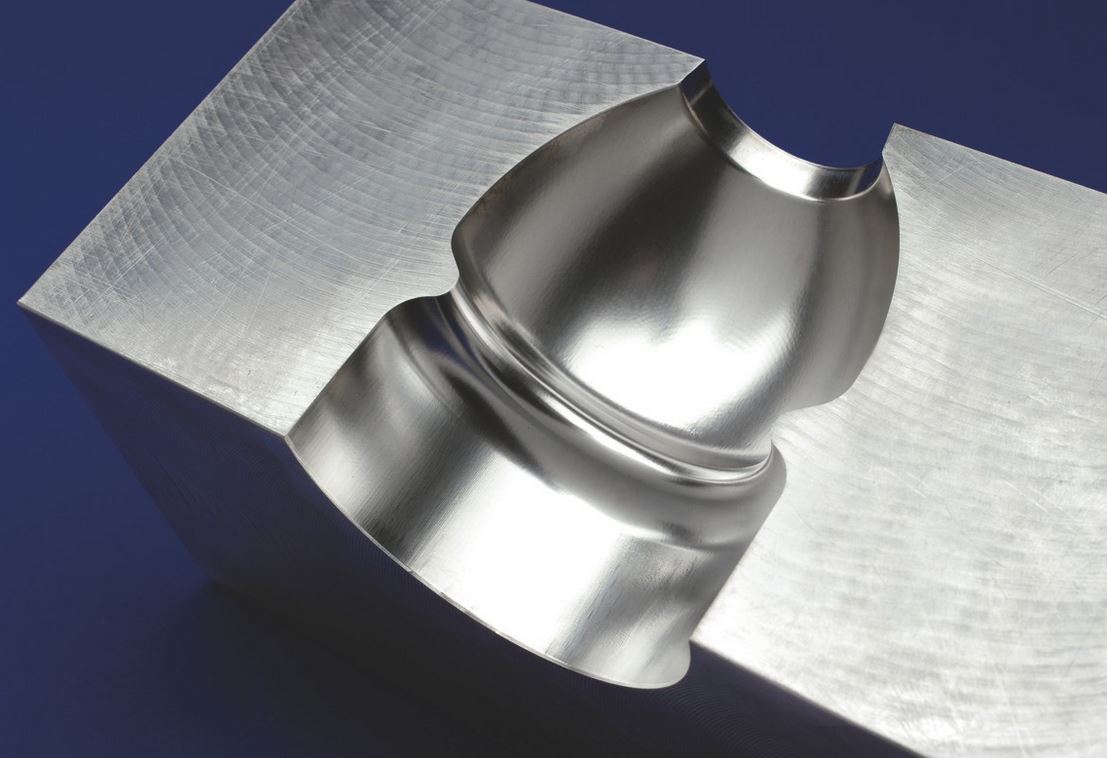
Laser polished tool.
© Fraunhofer ILT, Aachen, Germany.
Laser polished tool.
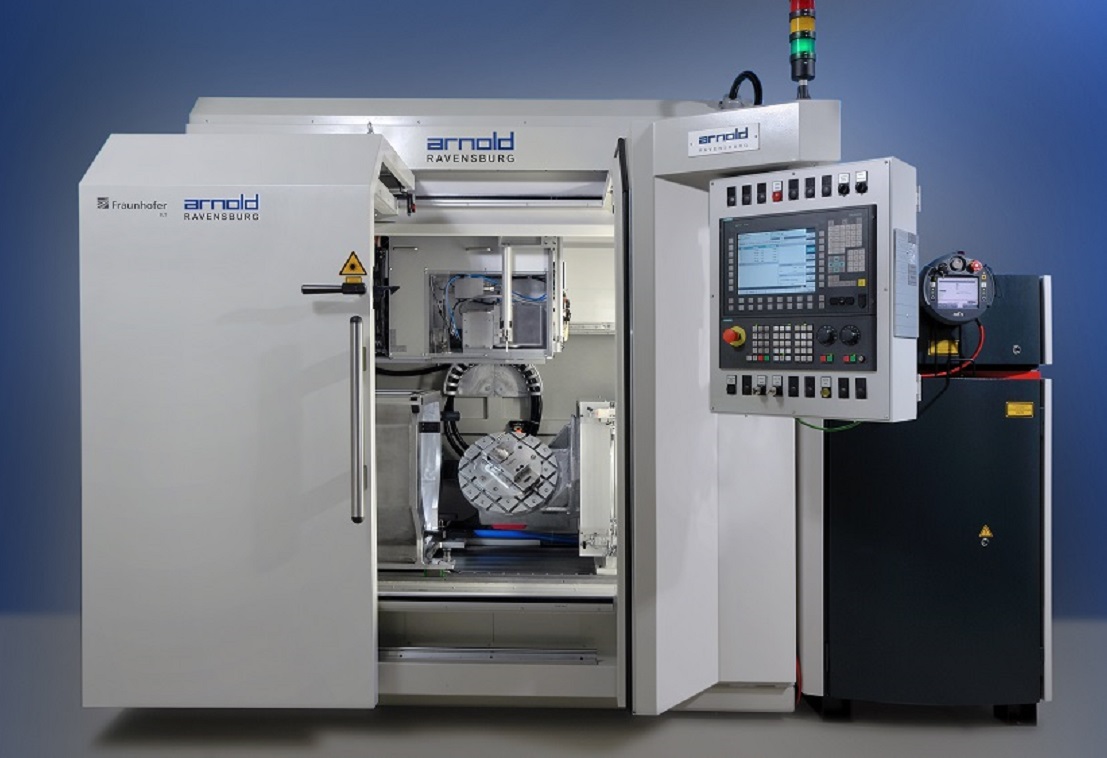
Machine tool for laser polishing.
© Fraunhofer ILT, Aachen, Germany.
Machine tool for laser polishing.

Laser remelting optimizes light bundling

Dr. Evgueni V. Bordatchev, team leader at the National Research Council of Canada in London (Ontario), explained how complicatedly shaped surface structures of molds for PMMA headlights can be specifically tailored with the laser. The German-Canadian joint project modified the laser remelting process as an alternative to the previous structuring process using diamond tools. Together with Fraunhofer ILT and RWTH Aachen University, the Canadian institute succeeded in structuring mold inserts made of 1.2343 with a 100 W laser in such a way that a sufficiently homogeneous light distribution and decoupling efficiency could be achieved.

The laser polishing of metal surfaces preprocessed with diamond tools and with ultraprecision was treated by Dr. Hemmo Touvinen from the North Karelia University of Applied Sciences in Joensuu, Finland (University of Eastern Finland). In his investigations on chemically deposited nickel, he showed that periodic structures caused by diamond tools can best be removed with Nd:YAG lasers (1064 nm) at pulse durations of 7 ns. However, the surface roughness increased to 40 nm.

Laser polishing of glass

A hybrid process for manufacturing optical lenses, among other things, was presented by Manuel Jung, a member of Willenborg’s team at Fraunhofer ILT. In the HyoptO project and along with the Technical University of Deggendorf, the Aachen engineers analyzed how costs and time expenditure can be optimized in the production of glass optics.

The process consists of pre-grinding, laser polishing and final mechanical correction polishing. A CO2-CW laser (wavelength: 10,600 nm, 1 kW) was used. Laser polishing (10 s for a lens with a diameter of 30 mm) significantly reduced the time required for the final mechanical polishing. The results are impressive, as the hybrid process has already reduced the processing time of standard lenses made of borosilicate crown glass (NBK7) by 29 percent and of optical fused silica by 63 percent.

The Shenzhen Institute of Information Technology from China has also developed an advantageous form of hybrid technology. Scientist Dr. Bowei Luo reported on the use of a permanent magnetic field in the laser polishing of tool steel. Without a magnetic field, the Q-switched solid-state laser –with a power of 400 W and a laser beam with a maximum width of 0.54 mm – achieved a roughness Ra of 0.514 μm, which improved significantly to 0.168 μm at a magnetic flux density of 0.4 T. Tests showed that the polishing effect already improves at much weaker magnetic fields, but a flux density of 0.4 T seems to be optimal. Higher values have not yet resulted in better results.

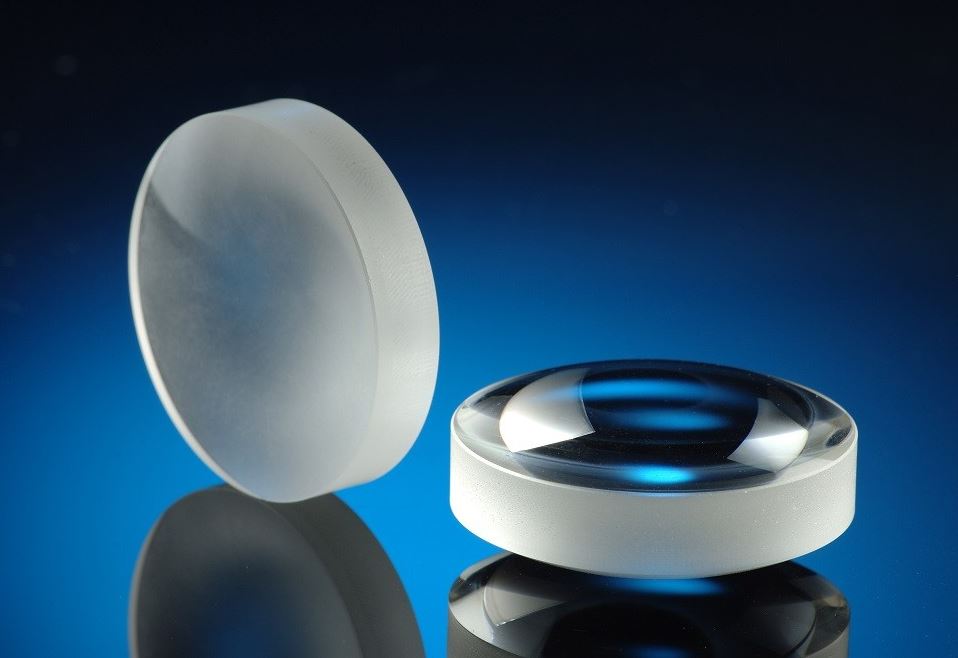
Laser polished asphere made of glass.
© Fraunhofer ILT, Aachen, Germany.
Laser polished asphere made of glass.
Laser polished active surface section of a slider for die casting.
© Fraunhofer ILT, Aachen, Germany.
Laser polished active surface section of a slider for die casting.

“Wobbling” laser: roughness decreases by more than 60 percent

The University of Wisconsin-Madison and the Bremen Institute for Applied Beam Technology BIAS are making the laser beam wobble. US scientist Patrick J. Faue presented trochoidal laser polishing, an application in which spiral and circular movements are superimposed, thus causing the beam to virtually wobble. A fiber laser with a maximum power of 30 W (wavelength: 1070 nm, laser focus diameter: 150 μm) polished stainless steel 316L with 30 mm/s feed rate. The German-American team investigated how three differently wobbling beams (range: 1 to 15 μm) affect the results. Interestingly, all three types of wobbling reduced the roughness Ra by more than 60 percent. However, process artifacts do occur, for example in the form of surface waviness.

The increase in additive-manufactured components also influenced the content of LaP 2020. Professor Yingchun Guan, of Beihang University in Beijing, presented methods for laser polishing metallic 3D printed components made with laser powder bed fusion LPBF, a laser-based 3D printing process in a powder bed. The institute had positive results with titanium and nickel alloys (Inconel 718), among others, whose roughness Ra could be reduced from more than 10 µm to less than 0.1 μm. Turbine components, so-called blades, were polished at high efficiency (100 to 400 cm²/h). Polishing increased hardness and wear resistance by 25 to 40 percent.

Reducing the porosity of metallic 3D printed part

Lucas-Hermann Beste, a scientist at the Bremen Institute for Applied Beam Technology BIAS, in cooperation with the University of Wisconsin-Madison, USA, investigated how the porosity of layers near the surface in LPBF components can be reduced with laser polishing. An experiment with a cobalt chromium alloy (CoCr), a material often used in medical technology, showed how successful this can be. Under argon inert gas, a Q-switched 35 W solid-state laser (1080 nm) polished a small CoCr cube with a 120 μm laser beam at a feed rate of 120 to 200 mm/s. The porosity could be reduced by up to 63 percent and the roughness Sa by about 75 percent down to an average of 2 μm.

Tools and molds are particularly demanding components, because polishing is crucial to the quality and appearance of the products made with them. Since they exhibit such challenging geometry, Laura Kreinest, a member of staff at the Chair for Digital Additive Production DAP at RWTH Aachen University, explained how the laser process can be adapted to the often very uneven processing paths. She demonstrated this using a mold made of GGG40 and used to create glass flacons. Three process strategies were considered: laser polishing with 5+3, 8 or 9-axis processing. For complex geometries, 9-axis simultaneous machining is particularly advantageous, since CAM-NC paths can be planned in the workpiece coordinates. The use of a CAM-NC data chain (e.g. Powermill, Technology Processor TP4, LasPC) developed by Fraunhofer ILT has proven its worth. Laser polishing was demonstrated on a machine from Maschinenfabrik ARNOLD in Ravensburg, a machine designed for components weighing up to 100 kg and a maximum diameter of 450 mm.

The quality of the laser polishing process can be increased, given the large number of influencing parameters, if the process reliability of the process is monitored: Jack Anthony Beyfuss, Associate Professor and Director of Research University of Western Ontario, London (Canada) relies on real-time thermographic monitoring and AI software. He used a Tachyon MWIR camera system to record the operation of polishing lasers (5 to 35 W) at 3000 frames per second (64x64 pixels); this way he could use the MATLAB analysis to reduce the enormous amount of data generated with the software, among other things, in order to efficiently process the data further. According to Beyfuss, the analysis of pattern recognition has shown that it enables a user to select the most suitable information features. He closed the control loop with an AI program that works on the principle of machine learning in conjunction with a Bayesian network.

The bottom line: Successful online premiere

Initiator and moderator Willenborg from Fraunhofer ILT was satisfied with the outcome: “LaP Number Four had to be virtual, but this premiere worked out perfectly. I look forward to seeing the international laser polishing community again at the fifth LaP, which will hopefully take place live in Aachen again in 2022”.

Author: Nikolaus Fecht on behalf of Fraunhofer ILT

Images ”4th Conference on Laser Polishing – LaP 2020”

Dr. Edgar Willenborg

Fraunhofer Institute for Laser Technology ILT
Steinbachstr. 15
52074 Aachen

Phone +49 241 8906-213
-> Send Email